 By

Google Slides doesn’t have a “columns” button like Google Docs does, which is why so many people get stuck splitting a list into two neat columns. There are three good ways to do it: a built-in two-column layout, side-by-side text boxes, or a table. Here’s how to make two (or more) columns in Google Slides, and which method to use when.
Short answer: the fastest way is a layout: click Slide → Apply layout → Title and two columns. You get two text boxes side by side, ready to type in. For three or more columns, copy a text box (Ctrl + C, Ctrl + V) and line the boxes up with Arrange → Distribute → Horizontally. For data in rows and columns, use Insert → Table.
Applies to: Google Slides on the web (Windows, Mac and Chromebook), October 2026. The phone apps can edit columns made this way, but layouts and arranging are easier on a computer.
Which method should you use?
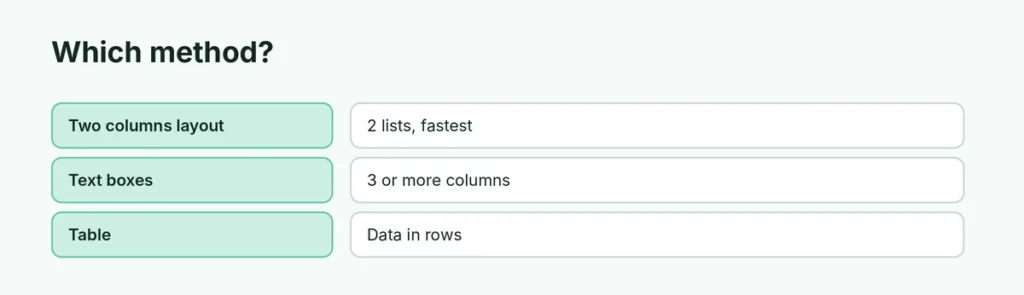
| Method | Best for | Columns |
|---|---|---|
| Title and two columns layout | Comparing two lists, pros and cons | 2 |
| Side-by-side text boxes | Three or four short lists, full control over width | 2 or more |
| Table | Data, schedules, anything that must line up row by row | Up to 20 |
Method 1: Use the “Title and two columns” layout
- Select the slide (or click Slide → New slide).
- Click Slide → Apply layout (or the Layout button in the toolbar).
- Choose Title and two columns.
- Type in the left box, then the right box.
The two boxes match your theme’s fonts and spacing, so it’s the cleanest option for simple two-column slides.
Method 2: Make columns with text boxes
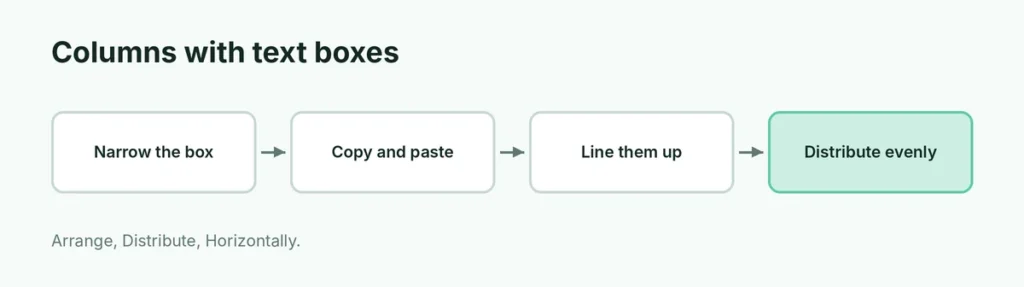
- Start with a slide that has one text box, or click Insert → Text box and draw one.
- Make it narrower by dragging a side handle.
- With the box selected, press Ctrl + C then Ctrl + V (⌘ + C, ⌘ + V on Mac) to make a copy. Repeat for each extra column.
- Drag the boxes into a row.
- Select them all (hold Shift and click each), then click Arrange → Align → Top, and Arrange → Distribute → Horizontally so the gaps are equal.
- Replace the text in each box.
Tip: select all the boxes and press Ctrl + Alt + G (⌘ + Option + G on Mac) to group them, so they move together.
Method 3: Use a table for columns
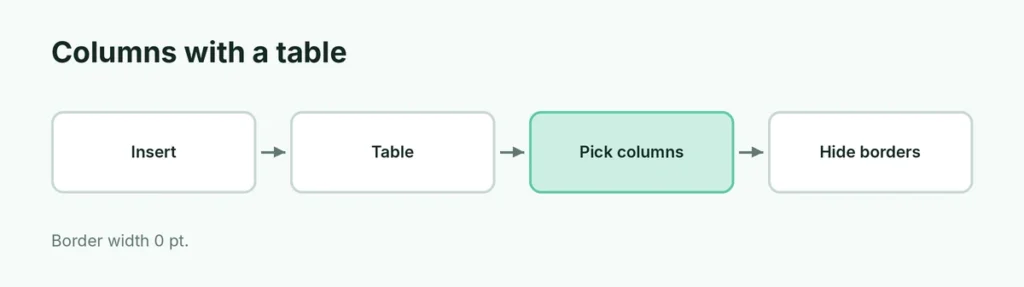
- Click Insert → Table and drag across the grid to pick the number of columns and rows.
- Type into the cells. Text wraps inside each cell.
- To hide the grid lines so it looks like plain columns, select the table, click the border button in the toolbar and set the border width to 0 pt or the color to transparent.
Right-click the table to add or delete columns and rows.
Split an existing list into two columns
If you already have a long bullet list in one box:
- Apply the Title and two columns layout (Method 1), or add a second text box.
- Select the bottom half of the list and press Ctrl + X to cut it.
- Click in the second box and press Ctrl + V to paste.
The bullet style comes along with the text.
Columns look uneven? Fixes
- Different widths: select a box and set the exact width in Format options → Size & rotation, then copy that width to the others.
- Text starts at different heights: select the boxes → Arrange → Align → Top.
- Text spills over: right-click → Text fitting → Shrink text on overflow. More in how to wrap text in Google Slides.
Related guides
- How to wrap text in Google Slides
- How to print speaker notes in Google Slides
- How to undo strikethrough in Google Docs
The short version
For two columns, use Slide → Apply layout → Title and two columns. For three or more, copy a text box, line the copies up and use Arrange → Distribute → Horizontally. For data, use Insert → Table and hide the borders if you want plain columns.
Sources
- Spreadsheet Point: How to make columns in Google Slides
- Google Docs Editors Help: Change how text fits in text placeholders and text boxes
- SlidesAI: How to make columns in Google Slides