 By

“Wrap text” in Google Slides usually means one of two things: making text flow onto the next line inside its box instead of spilling off the slide, or making text flow around a picture like it does in Google Docs or Word. The first is built in and controlled by one setting. The second isn’t a feature in Slides at all, but there’s a clean way to fake it. Here’s how to do both.
Short answer: text in a Google Slides text box wraps automatically when it reaches the edge of the box, so drag the box’s side handles to make it narrower and the text will wrap. To control what happens when text overflows, right-click the box → Text fitting and choose Shrink text on overflow, Resize shape to fit text or Do not autofit. Google Slides has no “wrap text around image” option; instead, split the text into two text boxes and place them beside and below the picture.
Applies to: Google Slides on the web (Windows, Mac and Chromebook), October 2026. The phone apps let you resize text boxes but don’t show every Text fitting option.
Wrap text inside a text box
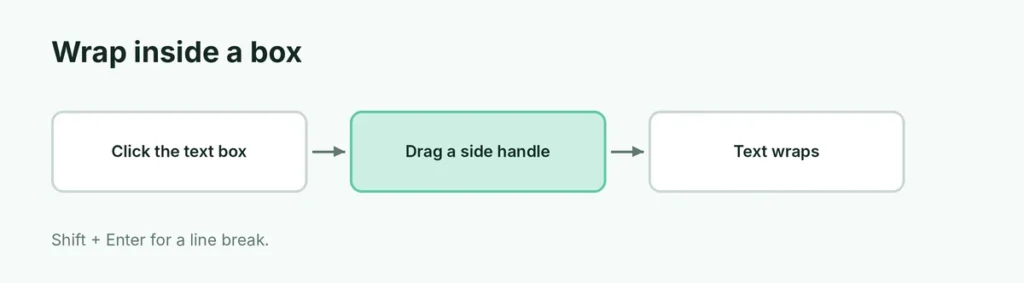
- Click the text box so its border and blue handles appear.
- Drag a side handle (left or right edge) inward.
- The text automatically moves onto new lines to fit the narrower box.
To force a line break in a specific place, click where you want it and press Shift + Enter (a new line in the same paragraph) or Enter (a new paragraph).
Stop text from spilling off the slide (Text fitting)
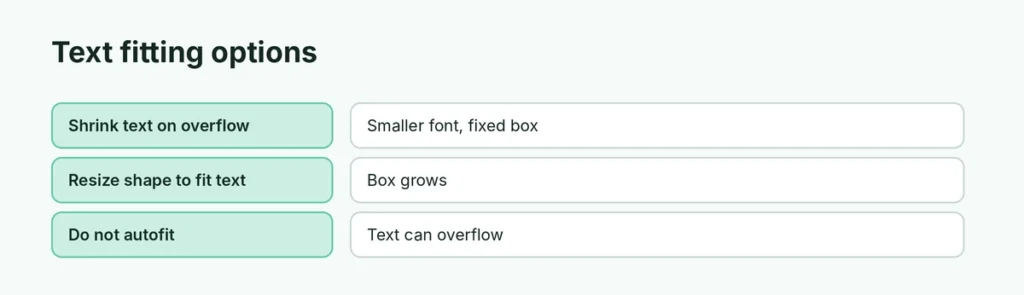
- Right-click the text box and choose Text fitting, or select it and click Format options → Text fitting in the sidebar.
- Pick an option:
| Option | What it does | Default for |
|---|---|---|
| Shrink text on overflow | Makes the font smaller so text stays inside the box | Theme placeholders (title and body boxes) |
| Resize shape to fit text | Makes the box taller as you type | Text boxes you insert yourself |
| Do not autofit | Text stays the same size and can overflow | Neither |
Choose Shrink text on overflow when a box must stay a fixed size, such as a caption under a photo. To change the default for new boxes, go to Tools → Preferences and set your autofit choice.
Wrap text around an image (the workaround)
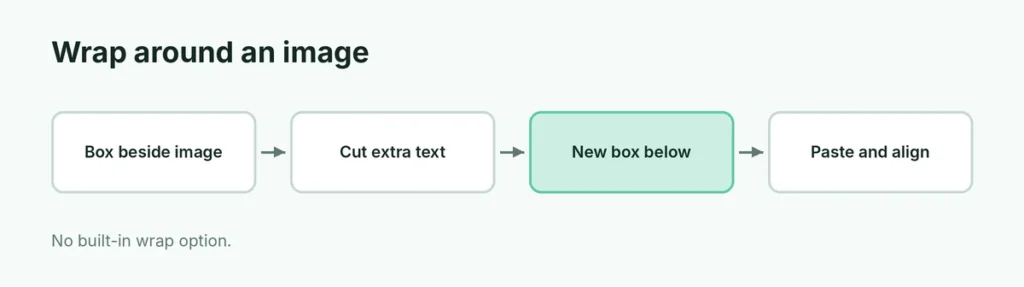
Google Slides, like PowerPoint, can’t flow one text box around a picture. Do this instead:
- Place the image where you want it on the slide.
- Resize your main text box so it sits beside the image.
- Select the part of the text that doesn’t fit, press Ctrl + X (⌘ + X on Mac) to cut it.
- Click Insert → Text box and draw a new box below the image.
- Press Ctrl + V (⌘ + V) to paste the text into it.
- Line up both boxes with the same left edge and font so they read as one block.
Tip: right-click the image → Order → Send to back if a text box overlaps it, and use the alignment guides that appear while dragging to keep everything straight.
Wrap text in a table or shape
- Tables: text in a table cell wraps automatically. Drag the column border to make the cell narrower or wider.
- Shapes: double-click a shape to type inside it. Text wraps within the shape’s edges, and Text fitting works the same way as for text boxes.
Text still not wrapping?
- It’s one long word or link. Slides can’t break a word without spaces; shorten the link or add a space.
- Do not autofit is on and the box is too small. Switch to Shrink text on overflow or make the box larger.
- You pasted from another app. Pasted text can bring hidden line breaks; press Ctrl + Shift + V to paste without formatting.
Related guides
- How to make columns in Google Slides
- How to print speaker notes in Google Slides
- How to undo strikethrough in Google Docs
The short version
Text wraps automatically inside Google Slides text boxes, so drag the side handles to set where it wraps, and use right-click → Text fitting to shrink text, grow the box or do nothing when it overflows. There’s no wrap-around-image feature: split the text into two boxes and arrange them beside and below the picture.
Sources
- Google Docs Editors Help: Change how text fits in text placeholders and text boxes
- Slidesgo: How to wrap text in Google Slides
- SlideModel: How to wrap text in Google Slides